Beginning Sample
Introduction
Note: Before reading this document, you should read the documents below first to set up WaveVR SDK environment.
In this document, a beginning sample of WaveVR SDK will be demonstrated step-by-step.
We will not explain in detail about the items used in the sample but will show the easiest way to use.
You will need to read the documents below for further WaveVR SDK usage:
- WaveVR_ControllerLoader
- WaveVR_InputModuleManager
- WaveVR_ButtonList
- WaveVR_EventSystem
Sample
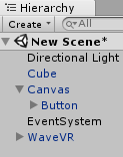
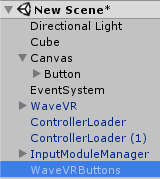
- Create a new scene with a cube and a canvas

- To initialize WaveVR, remove the Main Camera and add the WaveVR prefab (from Assets/WaveVR/Prefab/) in the scene.
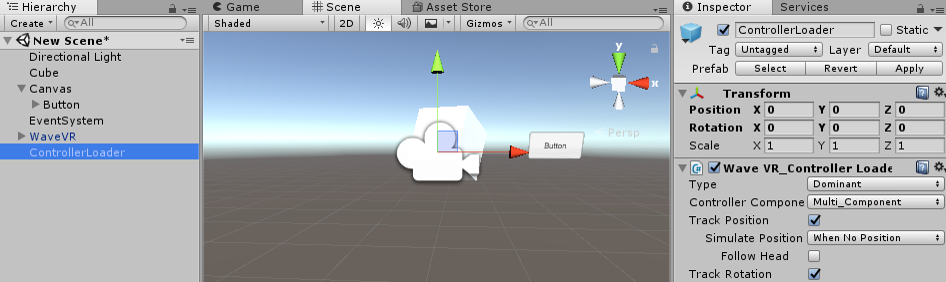
- To use two controllers, add two ControllerLoader prefabs (from Assets/WaveVR/Prefab/) in the scene, one with
Type Dominantand another withType Non_Dominant.

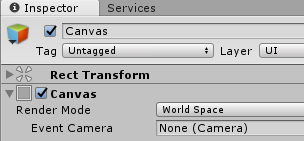
- Set the
Render Modeof the Canvas toWorld Space.
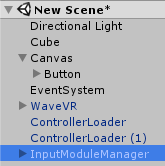
- To use event, add the InputModuleManager prefab (from Assets/WaveVR/Prefab/) in the scene.
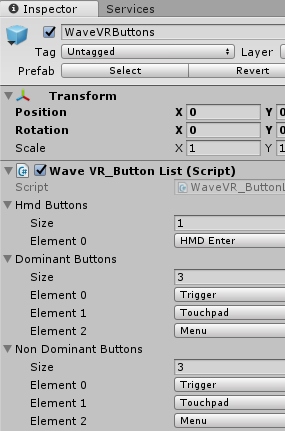
- To use buttons, add the WaveVRButtons prefab (from Assets/WaveVR/Prefab/) in the scene.
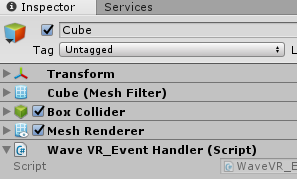
- Finally, add component Wave VR_Event Handler to Cube
Demo
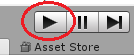
- Press the Play key in Unity editor.
- Press the right Alt key on the keyboard and move the mouse to control the controller motion.
- Click right mouse key like clicking a button.