VIVE to WaveVR
This section will help you to port an application from VIVE to WaveVR. Before directly jumping into the porting step details, we need to address two major differences between VIVE and Mobile: Platform and user behavior.
Platform Differences
Basically, the CPU and GPU processing capabilities on a PC are much more powerful compared to mobile.
For example, Fracture in Arcade Saga in VIVE, we keep 90 FPS, drawcall about 250, and Triangles about 140K.
In Mobile, we try to do optimization and keep 60 FPS, drawcall about 50, and Triangles about 20K.

Developers need to do optimization to reduce performance gaps. You can check Mobile VR performance check list section as a guide on how to do tune performance.
User Behavior Differences
The differences of Degrees of Freedom (DoF) and Controller Functionality are two major factors for user behavior and experience.
Degrees of Freedom
VIVE is a six degrees of freedom (6DoF) device so position and rotation information on the headset and controller can be used. WaveVR supports 3 and 6 DoF based on tracking devices. For example, HTC Link is a 6 DoF HMD with two 6 DoF controllers. In addition, WaveVR can use combinations of 3DoF and 6DoF. Therefore, before starting to port, you need to take into consideration the user experience as it will be different between the VIVE and WaveVR.
Controller Functionality
Number of buttons may be different between VIVE and WaveVR.
There are four buttons that can be used by developers for the VIVE – Touch, Trigger, Grip and Menu. There are three buttons can be used by developers for WaveVR (based on HTC Link) – Touch, Trigger and Menu.
Therefore, we need to have a complete button mapping definition before porting.
| StreamVR | WaveVR |
|---|---|
| SteamVR_Controller.ButtonMash.Touchpad | wvr.WVR_InputId.WVR_InputId_Alias1_Touchpad |
| SteamVR_Controller.ButtonMash.ApplicationMenu | wvr.WVR_InputId.WVR_InputId_Alias1_Menu |
| SteamVR_Controller.ButtonMash.Grip | wvr.WVR_InputId.WVR_InputId_Alias1_Grip |
| SteamVR_Controller.ButtonMash.Trigger | wvr.WVR_InputId.WVR_InputId_Alias1_Trigger |
Porting VIVE to WaveVR
After developers know the differences between VIVE and WaveVR, we are going to show how to port on Unity.
Unity Project Settings
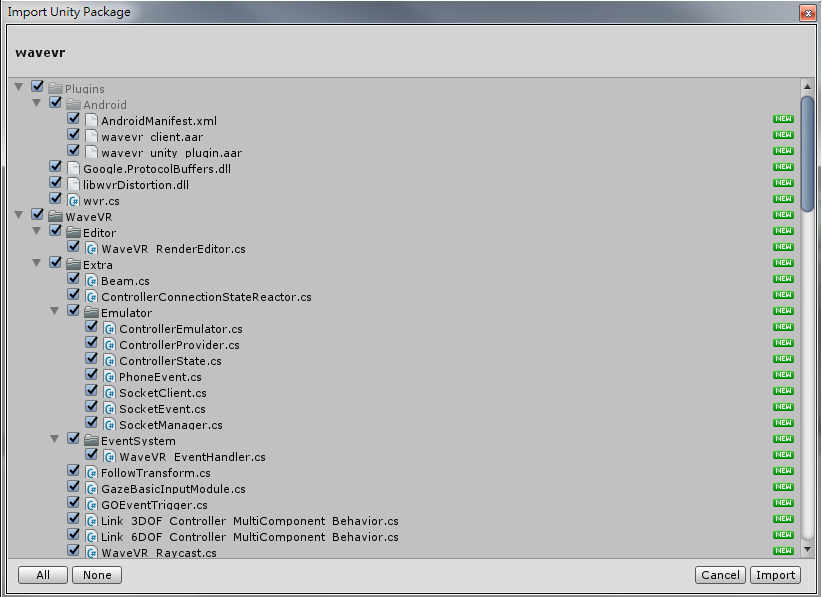
- Import WaveVR SDK to your project.
After importing the SDK, you’ll find conflicts between SteamVR and WaveVR due to the overlapping of SDKs. Therefore, you need to delete all settings or scripts from SteamVR in your project in case Unity can’t recognize the function from openVR.
You need to replace them with WaveVR. Here’s how to map some of the function:
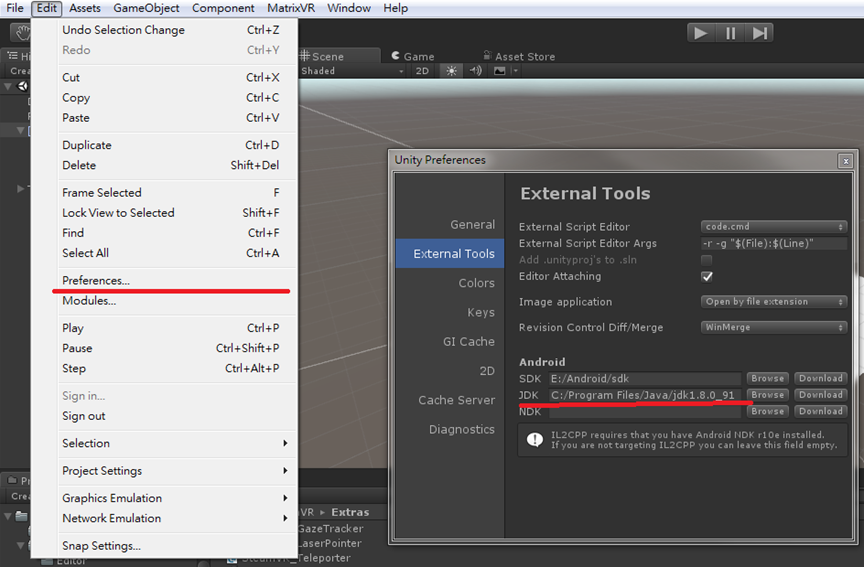
- In preference settings, download the Android SDK and JDK and then delegate them to the preference setting.
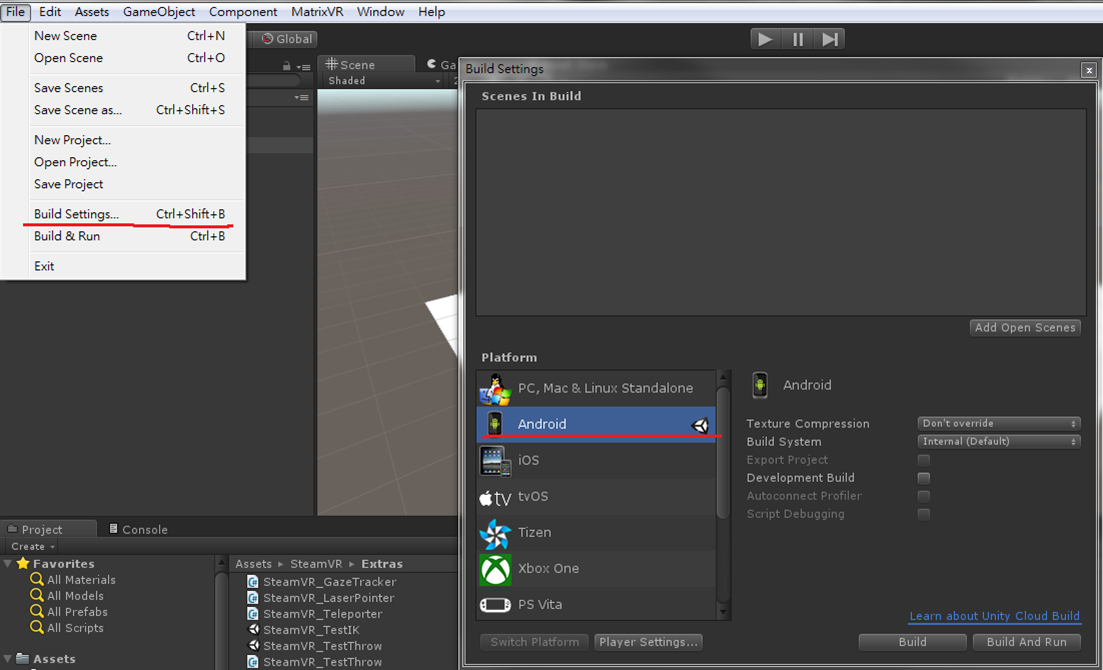
- In build settings, switch the platform from PC to Android.
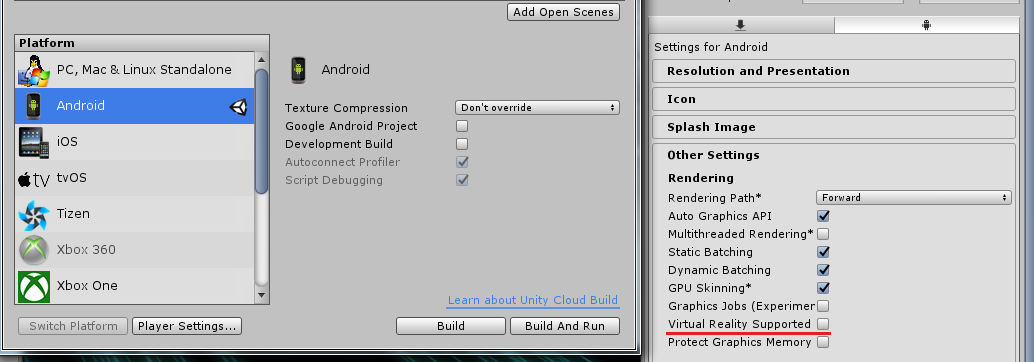
- Turn off “Virtual Reality Supported” in Player Settings.
Camera
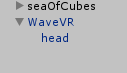
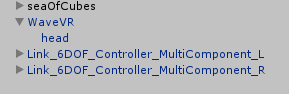
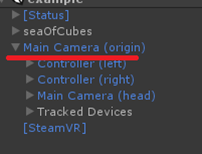
In the Camera setting, remove SteamVR from Camera. Remove the ??Main Camera (origin)??from the original project and add ??WaveVR??prefab as a new camera.
- Original:
- After: