Quick Start for SRWorks Unreal Plugin
After the above hardware and software have been set up, below are the steps of how to start running the sample level.
- Step 1
Open the Unreal Editor 4.24.
- Step 2
Create a new project.
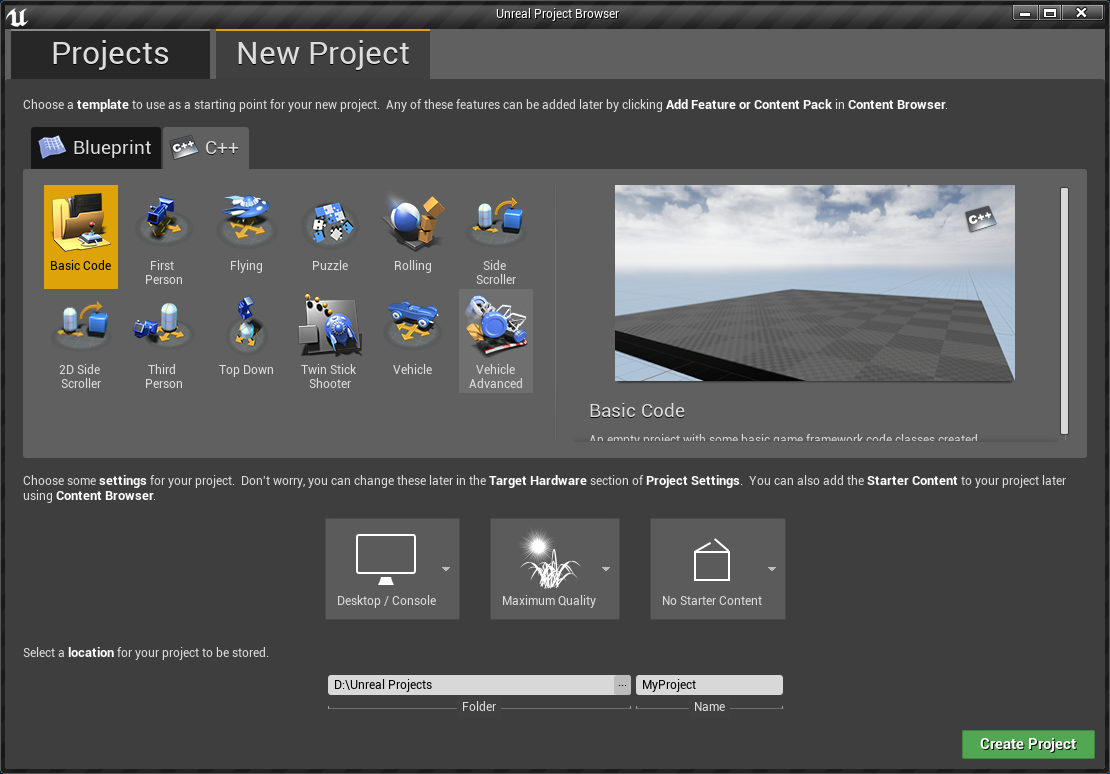
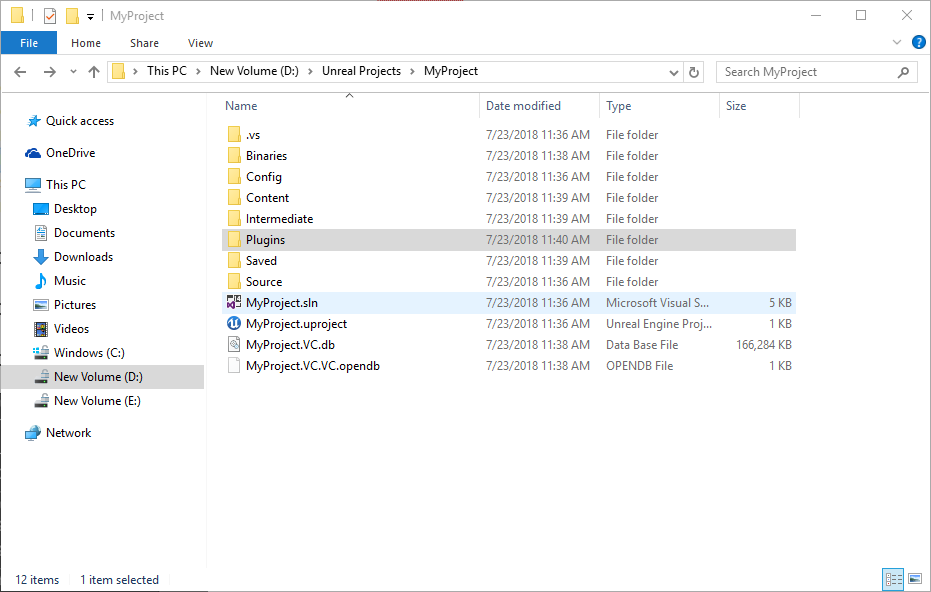
Step 3
Create a Plugins folder beside the .uproject file.
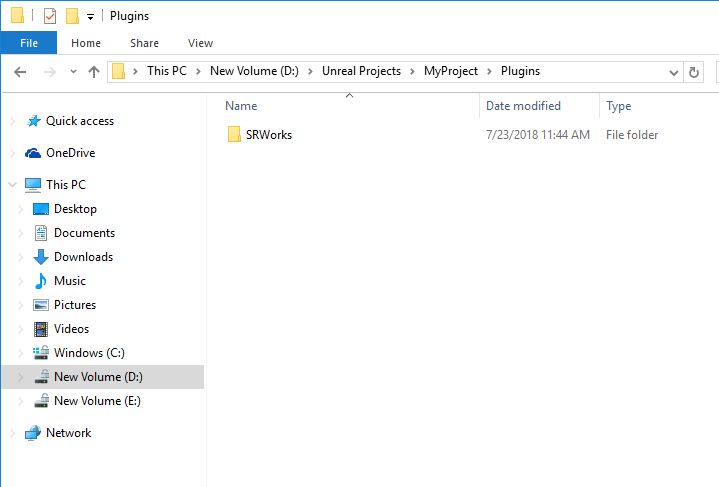
Step 4
Unzip Vive-SRWorks-Unreal-Plugin.zip and put into the Plugins folder.
- Step 5
Close Unreal Editor and launch your project again.
- Step 6
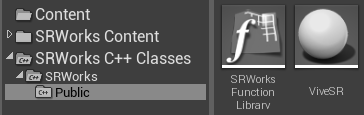
Ensure your can see the plugins in Unreal Editor

- Step 7
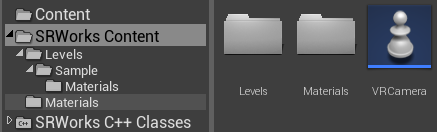
Open the sample level.

- Step 8
Play this level in VR Preview!
- Step 9
Try some feature by hot key which mention in TestKey.
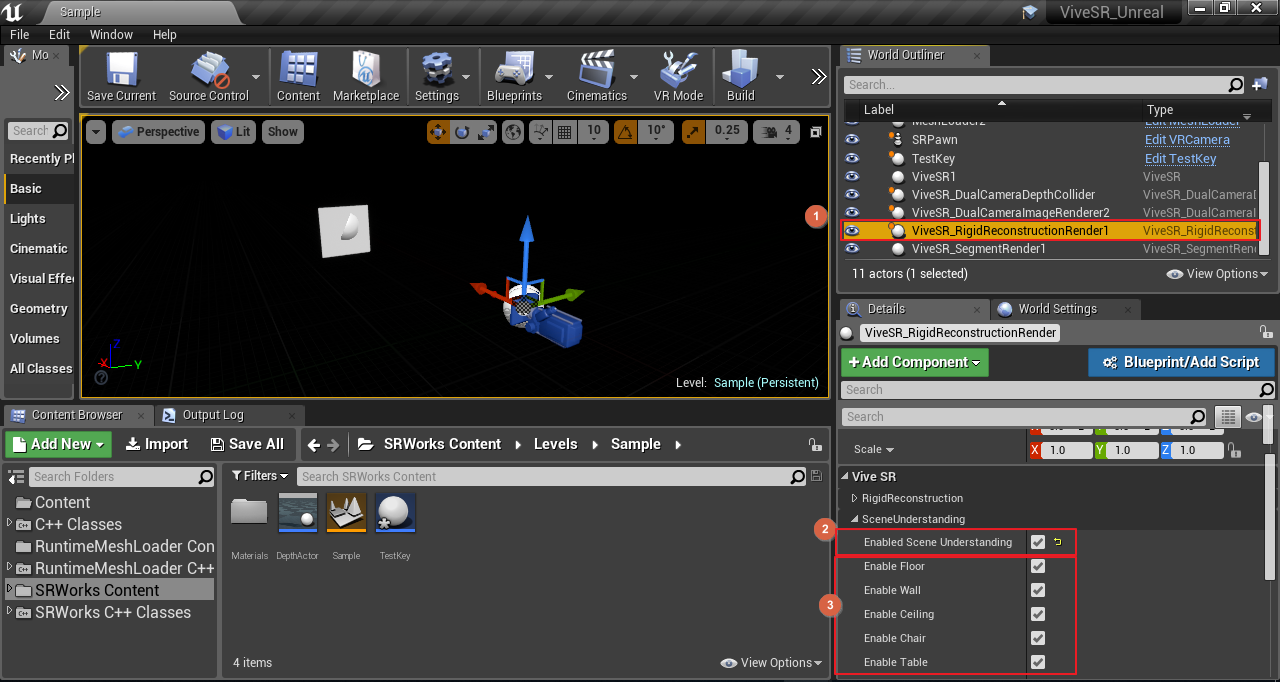
- Step 10
In ViveSR_ReconstructionRender, Enable Scene Understanding is enabled by default. Select the object type you would like SRWorks’ to identify.
Build your level with SRWorks
- Step 1
Drag VRCamera into the world and reset its transform. Remember to set Auto Process Player of VRCamera.
- Step 2
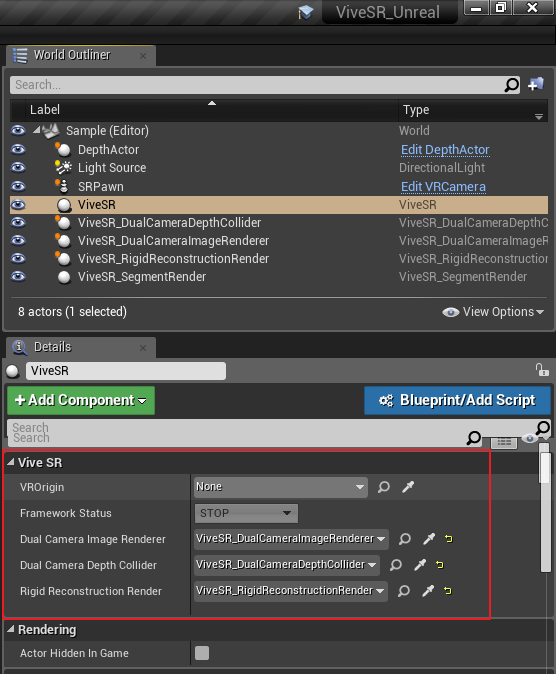
Drag ViveSR into the world.
- Step 3
Drag: ViveSR_DualCameraImageRenderer, ViveSR_DualCameraDepthCollider, ViveSR_RigidReconstructionRender and ViveSR_SegmentRender into the world and reset their transform.

- Step 4
Ensure the setting in ViveSR follow the picture below.
Note
To use the depth collider, drag ViveSR_DualCameraDepthCollider into the world and reset its transform.
To use rigid reconstruction, drag ViveSR_RigidReconstructionRender into the world and reset its transform.