Controller Orientation
Introduction
Controllers come in different forms and often have different tracking origins. Therefore, developers have to manually adjust the translation and rotation of different 3D models that will be attached to the Tracked Pose Driver, which is repetitive and time-consuming task when a developer wants to support multiple VIVE Wave™ devices.
Controller Orientation addresses this problem by offering different pose modes that will apply the necessary translational and rotational offsets that are specific to each controller. This way, developers simply need to match the transform of their 3D models to the tracking origin once, and then let Controller Orientation handle the differences in tracking origins between different types of controllers.
Pose Modes
Controller Orientation offers three different pose modes:
- Panel oriented mode: The tracking origin is on the controller panel. Use this mode when you expect the user to carry out actions that will mainly involve the controller panel, e.g. pressing buttons to interact with UI elements.
- Trigger oriented mode: The tracking origin is right behind the trigger of the controller. Use this mode when you expect the user to carry out actions that will mainly involve the trigger of the controller (e.g. shooting a gun in a game).
- Handle oriented mode: The tracking origin is located on the axial of the handle and near the controller panel. Use this mode when you expect the user to carry out actions that will mainly involve the handle of the controller (e.g. holding and swinging a sword/wand).
How to use
Contents |
Pose Mode Configurator
Use Pose Mode Configurator (Script) to switch between the three different Pose Modes.

The Pose Mode Configurator script can be found in the VIVE Wave XR Plugin - Essence package in /Runtime/Scripts/PoseModeConfigurator.cs.
Placement of 3D Models
Note
The red, green and blue pillars in the sample figures indicate the positive direction of the x-axis, y-axis and z-axis respectively.
The intersection of these three pillars is the tracking origin.
Here are some examples on how to match the transform of 3D models to different pose modes:
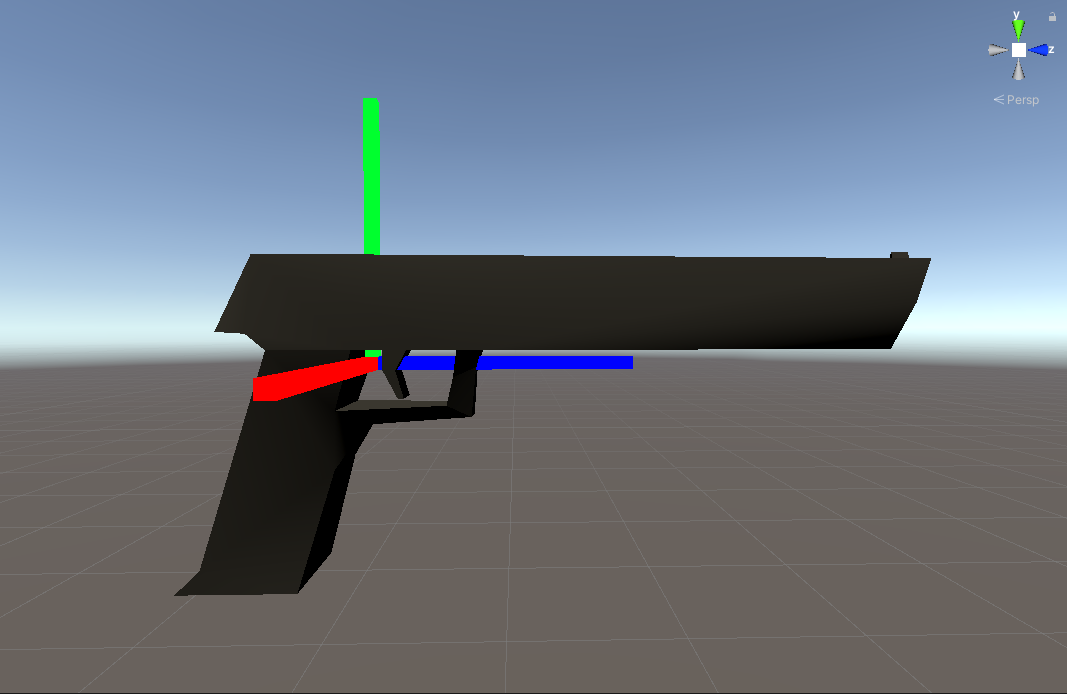
Matching the transform of a pistol to the tracking origin of Trigger oriented mode.
The trigger is right in front of the tracking origin.
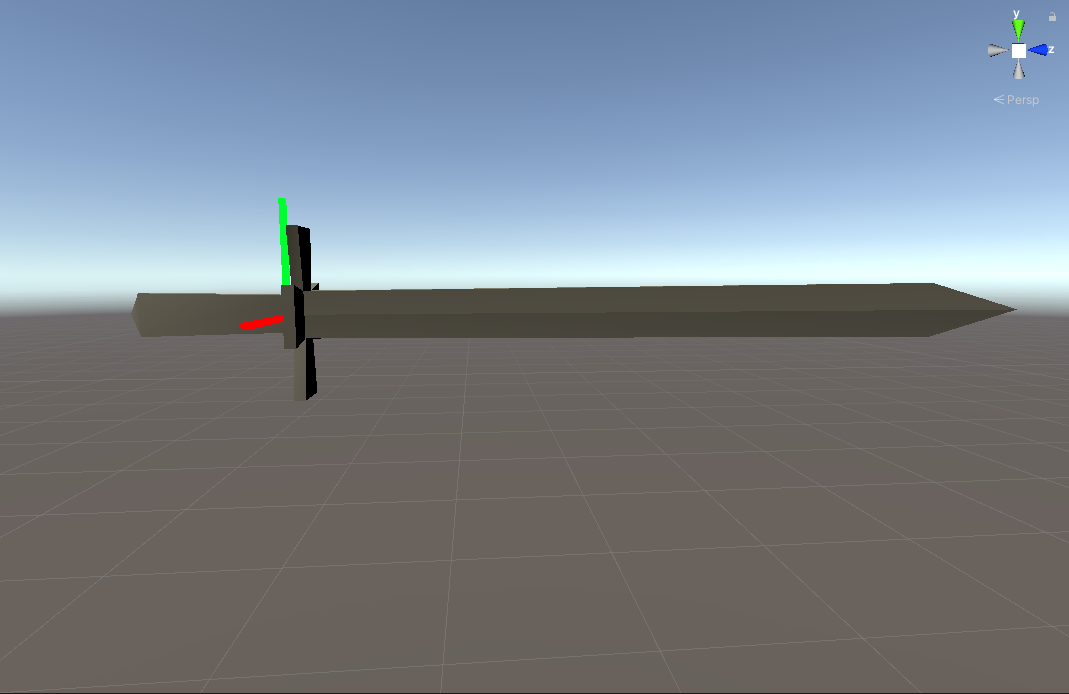
Matching the transform of a sword to the tracking origin of Handle oriented mode.
The sword guard is right in front of the tracking origin.
Using with Controller Render Model
To use Controller Orientation with our Controller Render Model, setup your controllers like this:

Setting up the offset compensation for Controller Render Model using the PoseMode component.
The PoseMode script for compensating the offset when using our Controller Render Model is in the Controller feature pack.
See Also
- UnityXRController